 inktype.cc
Check the whole page before changing the editor
The app needs one complete capture sheet. It reads all four ArUco markers, checks that they belong to the same template version and language, then uses their positions to straighten the page.
No cropped corners, fingers, staples, dark clips, or heavy shadows over the black squares.
Small perspective errors are fine. A fold, curl, or wave through the grid changes the shape of individual cells.
Zoom in on a marker. Its square edges should be distinct rather than smeared by motion or focus blur.
Do not combine corners from different printed templates in one image.
The app cannot find all four markers
Take the photo again with a little empty space around the paper. Keep the phone roughly parallel to the sheet and move the light so that no marker sits in glare or shadow. A dark tabletop is usually easier than a patterned surface.
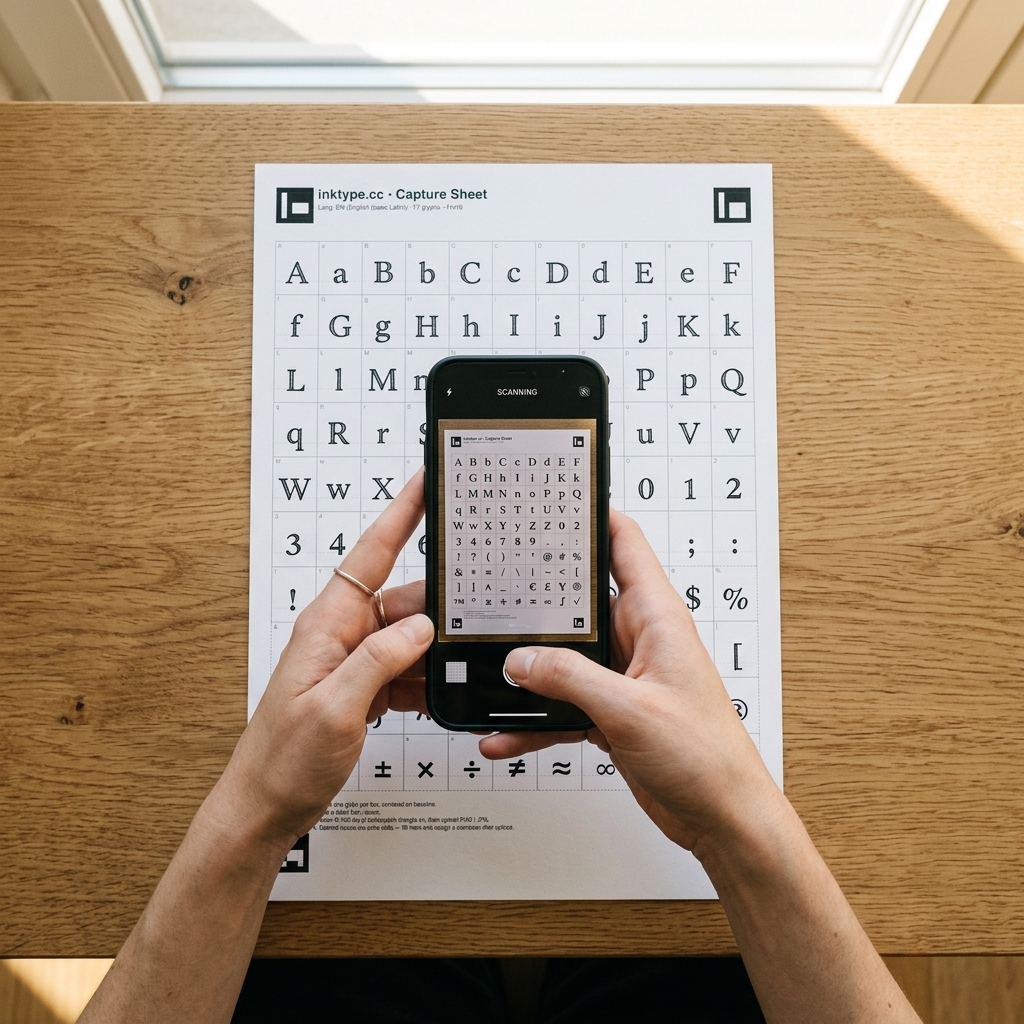
Do not redraw a damaged marker. Each marker carries the template version, language, and corner position. Download a fresh sheet if a marker was cut off, written over, or printed badly.
If a scanner created the file, turn off automatic page trimming when it removes part of a corner. A 300 dpi scan is a good starting point, but a clear phone photo also works.
Letters look faint or parts disappear
Use the global Sensitivity and Threshold controls first. Higher values keep more of the lighter marks in every cell. If only one letter is affected, select that glyph and use its two ink-threshold controls instead.
Raise the values a little at a time. Keeping more faint ink can also bring back paper texture, shadows, and parts of the printed guide. The live glyph canvas updates before the preview font is rebuilt, so it is the quickest place to judge the outline.
A dark gel pen, felt-tip, or marker gives the processor more separation between ink and paper. Light pencil and pale blue ink leave less information to recover.
A stroke is clipped or joined to the next cell
The processor extracts each grid cell separately. A stroke that crosses the dashed boundary can be cut off. A long stroke close to the border can also be mistaken for a border artifact during cropping.
- Rewrite the character with a small gap between the ink and every dashed edge.
- Keep long descenders and flourishes inside their own box.
- Use an Empty sheet for a replacement glyph, then assign the character in the editor.
You can upload the extra sheet with + Extras. This is usually faster than repeating a full alphabet because one letter touched a border.
Paper texture or shadows appear as shapes
Lower Sensitivity or Threshold until the unwanted patches disappear. If the noise changes across the page, retaking the photo under softer, more even light is better than forcing one global setting to handle every cell.
Wrinkled paper, a strong shadow from the phone, and a mottled desk showing through thin paper can all create local contrast. Put the sheet on a plain surface and light it from more than one direction.
The letters are readable but the font feels uneven
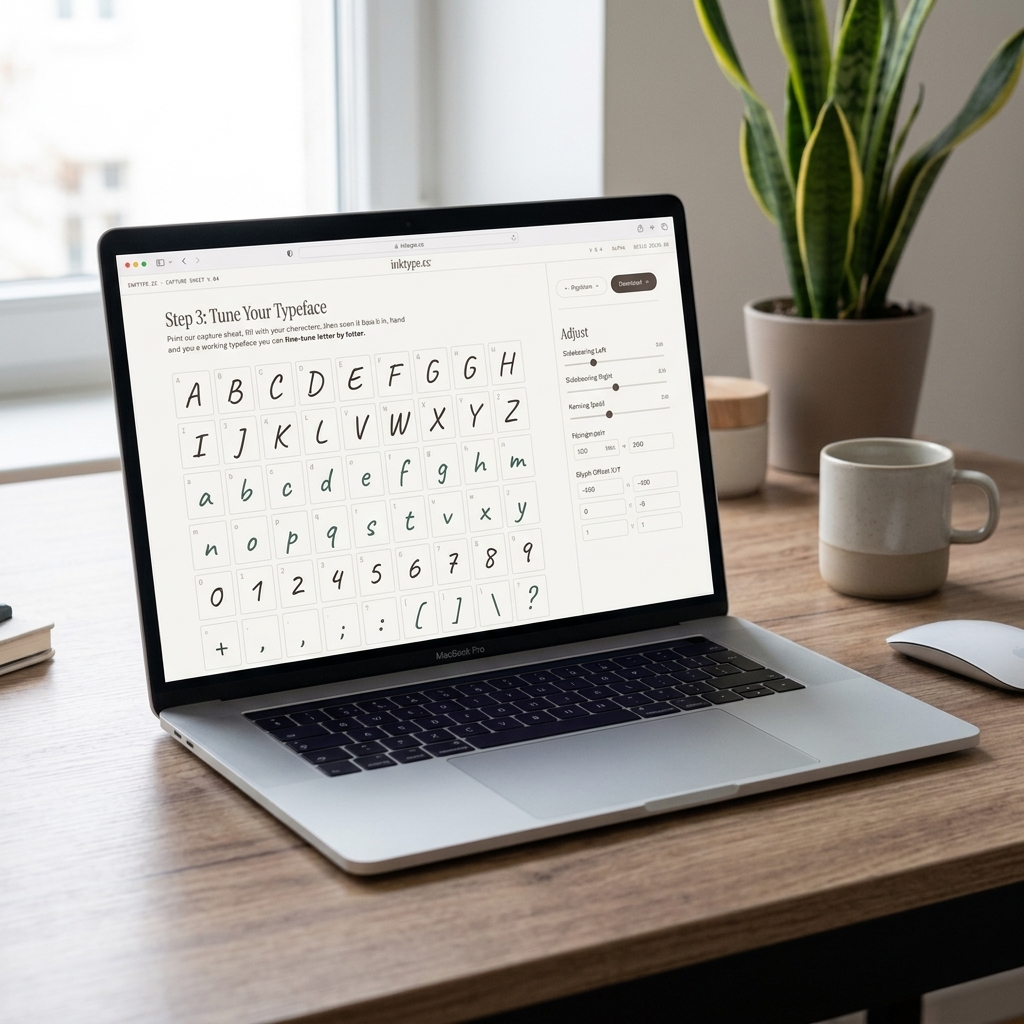
Run Auto-process if the glyphs start at very different sizes or baselines. It uses the captured capital O as a size reference, aligns glyphs to the baseline, and tightens spacing. You can change every result afterwards.
For spacing alone, use Auto-crop spacing. It sets each glyph's advance width and horizontal shift from the ink bounds plus the margins you enter. Then type a few real words in Try your font and correct the outliers one at a time.
Your previous adjustments did not return
inktype.cc stores edits in this browser and ties them to the uploaded file's name and size. Upload the same file again from the same browser profile. A renamed, recompressed, or edited image may be treated as a different scan.
Private browsing, clearing site data, or switching browsers removes access to the saved session. The scan and font are not stored on a server, so there is no account copy to restore.
The font installs but does not appear in an app
Close and reopen the app after installing the OTF. Some programs build their font list only when they start. Check that the font appears in the operating system's font manager, then try it in another app that accepts custom fonts.
If you exported several versions with the same family name, the operating system may treat them as duplicates. Export again with a distinct name or remove the older copy before reinstalling.
Read the installation guide for macOS, Windows, and Linux steps.